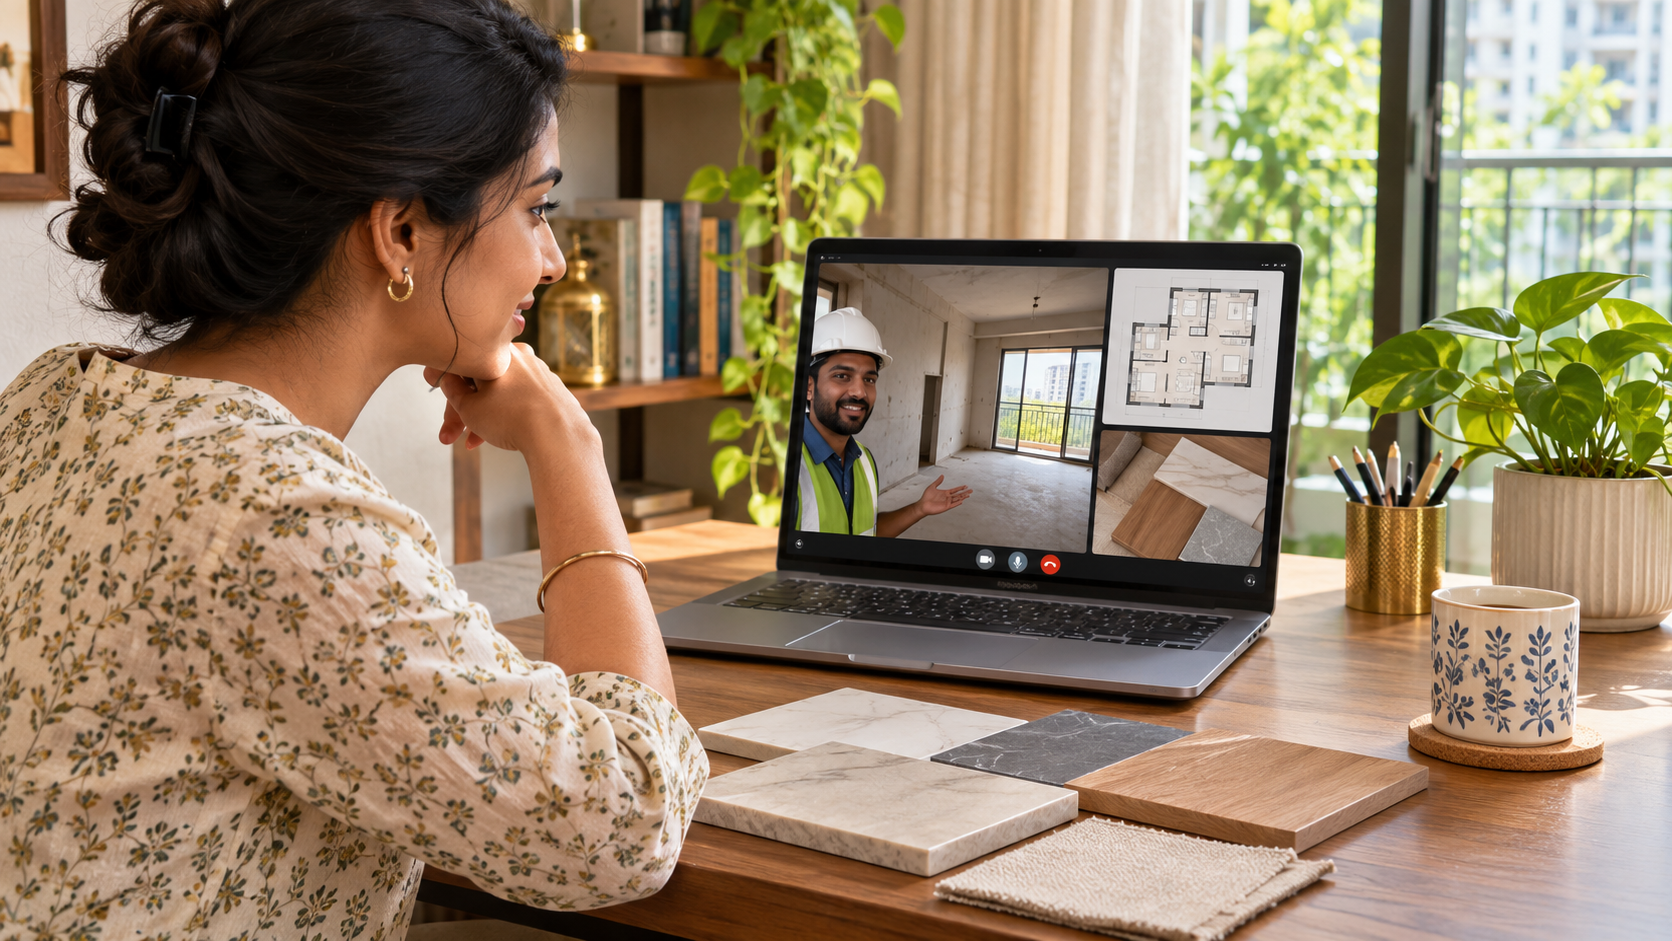
You can plan interiors for an Indian flat from abroad using verified measurements, a digital design review and written approvals. Assign someone local to handle access, verify site conditions and inspect the installation before handover.
Can You Design Your Flat in India Without Visiting?
Yes. Layout discussions, room visualisation, finish comparisons and budget reviews can take place online.
However, remote design depends on reliable information from the property. A builder’s floor plan can support initial planning, but fitted furniture needs verified site dimensions. A material photograph can help shortlist a finish, but it may not show its exact colour or texture.
Separate decisions you can make digitally from checks that need someone at the flat.
| Can be reviewed remotely | Needs local verification |
|---|---|
| Room functions and furniture requirements | Actual dimensions and site conditions |
| Layout options and 3D views | Doors, windows, beams and service positions |
| Proposed materials and product selections | Physical samples and delivered materials |
| Itemised quotations and budget changes | Workmanship and installation quality |
| Drawings and design revisions | Whether completed work matches the approved documents |
A family member can help with access and updates. Technical verification should be assigned to someone competent to perform it.
1. Decide How the Flat Will Be Used
A home for your parents needs a different brief from a rental apartment or a property you visit for a few weeks each year.
Clarify who will live there, how each room will function and which purchases are already available.
Include:
- Everyday occupants and visiting guests.
- Storage and accessibility requirements.
- Work or study needs.
- Furniture and appliances to retain.
- Expected maintenance arrangements.
- Your total project spending limit.
- The date the home needs to be usable. If relatives will occupy the flat, involve them early. Their daily routines should influence the layout even when you are managing the project and paying from abroad.
2. Assign Local Responsibilities Before Work Starts
Avoid an arrangement where everyone assumes someone else is checking the property.
Identify who handles each task and what authority they have.
| Responsibility | What to agree |
|---|---|
| Site access | Who holds keys and coordinates visits |
| Measurement | Who records and verifies dimensions |
| Design | Who prepares layouts, visuals and selected drawings |
| Execution | Who manages workers and installations |
| Inspection | Who checks materials and workmanship |
| Approvals | Who can approve designs, purchases and changes |
| Payments | Who verifies the relevant milestone before payment |
One provider may handle several roles, but confirm that in writing.
Also distinguish progress reporting from inspection. Someone sending photographs is not necessarily checking the work against specifications.
3. Get a Reliable Site Measurement Record
Start with the builder’s drawing, then arrange a site measurement before finalising fitted work.
Ask for a dated, annotated plan supported by photographs. Each room should have a consistent name or number so the plan, images and design files can be matched.
The record should cover:
- Internal wall lengths and room heights.
- Door and window sizes, positions and opening directions.
- Beams, columns, niches and wall projections.
- Existing electrical, plumbing and air-conditioning points.
- Kitchen exhaust and appliance connections where relevant.
- Existing finishes or furniture to retain.
- Visible damage or uneven surfaces affecting the work. Clarify whether measurements were taken before or after flooring and wall finishes. Those changes can affect final fabrication dimensions.
Ask the execution vendor to confirm the measurements it will rely on before production. Avoid leaving responsibility for an incorrect fit unresolved.
4. Arrange a Structured Video Walkthrough
A live call is useful when it follows the plan.
Begin at the entrance and move through the flat room by room. Ask the person on site to show each wall, the ceiling, the floor and relevant service points.
Discuss specific questions rather than relying on a quick panoramic video.
For example:
- Does the bedroom door open against the proposed wardrobe?
- Is the kitchen window sill above the planned countertop?
- Where is the washing-machine drain?
- Can a large sofa pass through the entrance and lift? Save labelled photographs after the call. They are easier to reference during design reviews than searching through a long recording.
5. Review Layouts Before Finishes
Approve the furniture arrangement before spending time on decorative details.
Check bed sizes, wardrobe access, dining-chair movement and the routes through shared rooms. Include the actual dimensions of retained furniture and intended appliances.
Then use 3D views to review colours, proportions and the overall appearance.
A useful feedback message is specific: “Keep the approved bed position. Reduce the bedside unit so the wardrobe shutter can open. Show the revised arrangement in the next layout.”
Collect feedback from the household into one response. Conflicting instructions sent separately can create unnecessary revisions.
6. Approve Materials with Identifiable Specifications
A photograph labelled “light beige laminate” is not enough to identify a product.
Record the manufacturer, product code, finish and relevant specifications. Request images of the sample label alongside the material itself.
For major visible finishes, arrange physical sample review by your local representative or request samples where practical. Photographs taken in daylight and under the intended room lighting can support that review.
If you approve from photographs alone, recognise that the appearance may differ in person.
Keep an approved material schedule and require proposed substitutions to be reviewed before purchase.
7. Compare Quotations Against the Same Design
Send vendors the same drawings, quantities and specifications.
Check cabinet construction, hardware, internal fittings, finishes, labour, delivery and installation. Keep appliances, loose furniture and furnishings visible even when separate suppliers provide them.
An early estimate can help establish a budget. Before ordering, ask which amounts are fixed, provisional or subject to remeasurement.
For an NRI project, also identify costs associated with managing the property remotely, such as paid site inspections or a representative’s agreed coordination fee.
8. Set Up a Clear Approval Process
Use a simple approval record rather than allowing decisions to disappear into chat threads.
| Approval stage | What should be confirmed |
|---|---|
| Layout | Furniture positions, sizes and room functions |
| Design appearance | Selected views, colours and visible details |
| Materials | Product codes, finishes and hardware |
| Production | Final drawings, verified dimensions and scope |
| Additional work | Price and schedule effect before proceeding |
| Handover | Completed items and outstanding corrections |
Give each approved drawing or schedule a date and version number.
A clear message might read: “Approved: Bedroom wardrobe drawing W-03, revision 2, dated [date], with material schedule M-02. This approval covers the wardrobe only. Please confirm receipt before production.”
Define who can approve a substitution or cost increase in your absence. Access to the property should not automatically imply authority to change the design.
9. Link Payments to Reviewable Milestones
Agree on the payment schedule before work begins.
For each stage, identify the evidence needed to confirm progress: approved drawings, material records, production updates, delivery documentation or inspection findings, depending on the arrangement.
Keep the full value of committed orders visible, including unpaid balances.
If you are comparing spending in another currency, maintain the main project budget in INR and record actual conversion and transfer costs separately. This makes it easier to distinguish project changes from currency movements.
10. Plan Inspection and Handover
Decide how completed work will be checked before calling the project finished.
A structured handover can include:
- Checking shutters, drawers and moving parts.
- Reviewing visible finishes and installation.
- Confirming supplied items against the approved list.
- Having appropriate professionals check relevant electrical or plumbing work.
- Recording outstanding corrections with photographs.
- Collecting invoices, warranties and care instructions.
- Confirming keys, access arrangements and final cleaning. If you cannot attend, appoint a suitable local person or professional to carry out the agreed checks. A video call can support the process, but it cannot establish every aspect of workmanship.
Related guides
Frequently asked questions
Can an NRI plan home interiors in India entirely online?
Design discussions and approvals can happen online. Measurements, installation and inspection still require reliable local involvement, whether through a provider, representative or separately appointed professional.
Is the builder’s floor plan enough to order wardrobes?
It can support initial planning. Final fabrication should use verified site dimensions, with responsibility for those measurements agreed with the execution vendor.
Can my parents or relatives coordinate the project?
They can help with access, preferences and updates if they are comfortable doing so. Assign technical checks to someone with the relevant competence and clarify what your relatives can approve.
How can I approve finishes while living abroad?
Use exact product codes and an approved material schedule. Arrange physical sample review where practical, supported by labelled photographs. Screen images alone may not show the final appearance accurately.
How do I prevent unauthorised changes?
Name the approval authority, identify the current drawings and require written approval for substitutions or additional costs. Ask vendors to confirm which version they are following.
Do I need to travel to India for handover?
You may be able to arrange handover through a suitable local representative or professional. Define the inspection scope, required documentation and process for resolving outstanding work before deciding.
Plan your next steps with Houspire
Start with a room brief and a local measurement owner. Use the visual plan to agree on the scope before placing orders. Explore Houspire’s design plans to see what the design stage can help you decide.