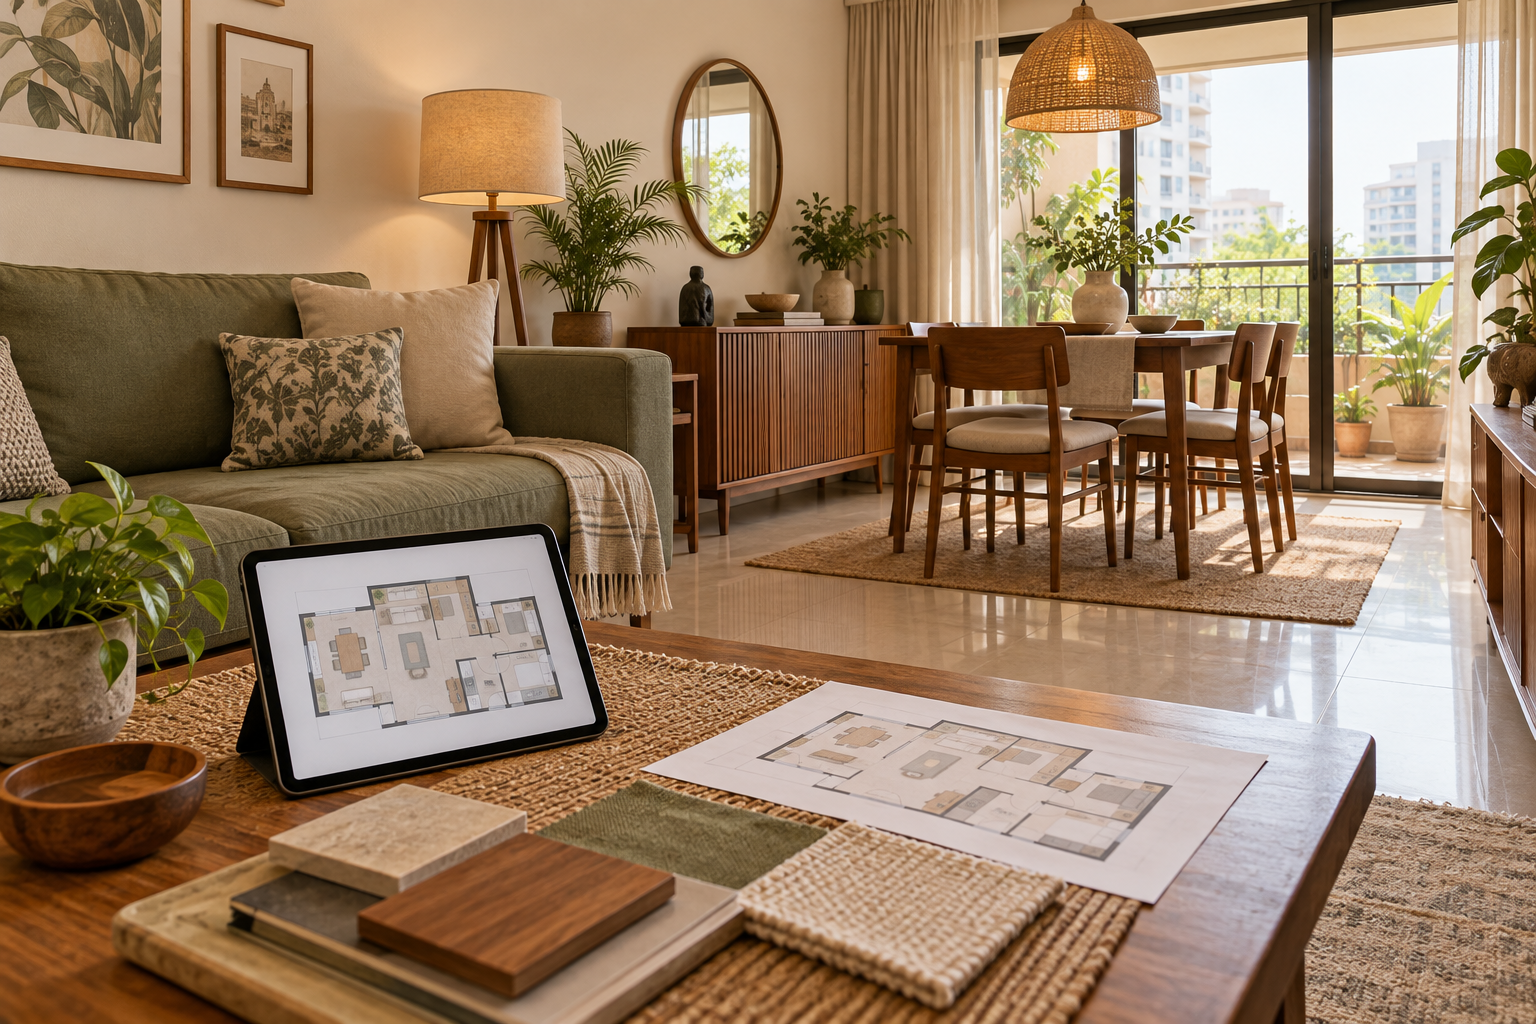
Plan Your Room Layout in Nine Practical Steps
A room can contain beautiful furniture and still feel uncomfortable. The sofa may interrupt the route to the balcony, the wardrobe may open against the bed, or the desk may sit too far from a usable socket.
These problems start with the layout.
To plan a room layout, measure the space, mark fixed features, define how the room will be used and arrange furniture to scale. Check movement, door openings and everyday activities before finalising purchases.
You can begin with paper and a pencil. A digital planner or designer can help develop the proposal, but the quality of the plan depends on accurate information and clear priorities.
What Is a Room Layout Plan?
A room layout plan is a top-down drawing showing where furniture sits within the space.
It should show the room’s dimensions, doors, windows, fixed features and furniture footprints. A useful plan also accounts for the space needed to walk, sit, open storage and operate furniture.
| Planning output | What it helps you understand |
|---|---|
| Measured room plan | The size and shape of the available space |
| Furniture layout | Where each item sits and how much floor space it occupies |
| 3D visualisation | How the proposed arrangement and finishes may look |
| Detailed execution drawings | Dimensions and specifications needed for custom work |
Start with the measured layout, then use visualisation to review its appearance.
1. Decide What the Room Needs to Do
Write down the room’s main activities before selecting furniture.
A living room might need to accommodate television viewing, conversation and occasional guests. A bedroom may also need a desk or dressing area.
Separate essential requirements from optional additions.
For example:
- Essential: seating for four, TV storage and a clear balcony route.
- Optional: an accent chair, display shelving and a large coffee table.
This gives you a basis for deciding what to remove if the first arrangement feels crowded.
Also record who uses the room. Children, older adults and people with mobility needs may require different access and furniture arrangements.
2. Measure the Room Accurately
Measure the room’s length, width and ceiling height. Record the units clearly and note any irregular corners or changes in wall depth.
Measure:
- Each wall segment.
- Door and window openings.
- Distances between openings and corners.
- Columns, projections and alcoves.
- Existing furniture you intend to retain.
Do not assume opposite walls are identical or that a builder’s plan reflects every finished dimension.
For fitted furniture, have the responsible professional verify measurements before fabrication.
3. Mark Doors, Windows and Fixed Features
Draw the features that the furniture must work around.
Show door-opening directions and the space occupied by an open door. Mark windows, balcony access, existing cabinetry, sockets and other relevant fittings.
Include features above floor level when they affect the proposal, such as an AC unit, a low beam or a window sill.
Label anything that must remain unchanged. This prevents an attractive arrangement from depending on a change you never intended to make.
4. Draw the Room to Scale
A scaled drawing helps you test whether furniture actually fits.
For example, at 1:50 scale, a 4-metre wall measures 8 centimetres on paper. A 2-metre sofa measures 4 centimetres.
Use the same scale for the room and every furniture item.
You can cut out paper furniture shapes and move them around, or enter the dimensions into a digital room layout planner.
Include the full external dimensions of furniture. A bed frame may be larger than its mattress, and a sofa’s arms contribute to its overall width.
5. Position the Largest Furniture First
Start with the item that has the strongest effect on the room.
| Room | A useful starting point |
|---|---|
| Bedroom | Bed position |
| Living room | Main seating arrangement and focal point |
| Dining room | Table position and chair access |
| Home office | Desk, chair and equipment |
| Multipurpose room | The activity used most frequently |
Try more than one position before committing.
In a bedroom, compare the bed’s relationship to the door, wardrobe and windows. In a living room, consider both conversation and television viewing.
Avoid forcing every piece against a wall if another arrangement works better.
6. Check Walking Routes and Furniture Operation
A furniture footprint shows only the space occupied when the item is stationary.
You also need room to use it.
Check whether you can:
- Open doors without hitting furniture.
- Pull out dining chairs and sit down.
- Open wardrobe shutters and drawers.
- Access storage beneath a bed.
- Extend a recliner or sofa bed.
- Move between the entrance and other rooms.
- Reach windows, switches and frequently used shelves.
Do not judge circulation from the empty gaps in a render alone. Review dimensions and test the activities that will take place there.
Where accessibility is important, plan clearances around the individual’s needs and equipment with appropriate professional input.
7. Add Storage, Lighting and Secondary Furniture
Once the main arrangement works, add bedside tables, shelves, side tables and other supporting pieces.
Choose storage according to what it needs to hold. A shallow cabinet for small items and a wardrobe for hanging clothes have different requirements.
Review lighting and electrical access alongside the furniture:
| Activity | What to check |
|---|---|
| Reading in bed | Light and switch access |
| Working at a desk | Power, equipment space and screen reflections |
| Watching television | Viewing position, cables and daylight glare |
| Dressing | Mirror position and useful lighting |
| Charging devices | Accessible sockets without obstructive cables |
Resolve these details before ordering fitted units or moving electrical points.
8. Test the Layout in the Actual Room
Use removable tape or paper to mark proposed furniture footprints on the floor. Test the tape on the surface first.
Walk through the arrangement and simulate everyday actions. Pull an existing chair into the proposed dining position or mark where a wardrobe shutter would open.
Compare two or three layouts using the same requirements.
Ask:
- Which arrangement makes movement easiest?
- Can every essential item be used comfortably?
- Is the room overcrowded for occasional activities?
- Could a smaller item perform the same function?
If furniture has to be squeezed into every remaining gap, revisit the quantity or size.
9. Review in 3D and Finalise Before Purchasing
A 3D view can help you assess visual balance, furniture height, colours and finishes.
Use it to refine the proposal, while keeping the measured plan as your reference for fit.
Before purchasing, confirm:
- Final furniture dimensions.
- Delivery access through doors, lifts and stairs.
- Material and finish selections.
- Required custom-furniture drawings.
- Installation responsibilities.
- Any differences between the visualisation and the actual order.
Keep one approved version of the layout so the designer, supplier and contractor work from the same information.
How Do You Plan a Small Room Layout?
Start by reducing competing requirements.
Choose furniture that fits the available space and supports the activities that matter most. Avoid adding storage simply because a wall is empty.
Multipurpose furniture can help, but check its operating space. A folding bed or extendable table needs room when opened, not only when stored.
Consider whether a compact freestanding piece can meet the need before commissioning extensive fitted furniture.
Common Room Layout Mistakes to Avoid
| Mistake | Better approach |
|---|---|
| Buying furniture before measuring | Confirm dimensions and test the footprint first |
| Planning around mattress size alone | Use the bed frame’s overall dimensions |
| Ignoring open shutters and drawers | Show their operating space |
| Copying a reference image exactly | Adapt the idea to your room and requirements |
| Adding too many occasional-use pieces | Prioritise everyday use |
| Treating a 3D image as a measured plan | Verify the arrangement on a dimensioned layout |
| Forgetting delivery access | Check the route before ordering |
How Houspire Fits Into Room Planning
Houspire offers room visualisation using the information you share, with Budget Direction and Vendor Direction included in its published offer. Additional drawings are separately priced; construction, installation and on-site supervision are excluded. If you need a dimensioned furniture layout or execution drawings, confirm those deliverables before purchasing. Use visualisation to review the appearance alongside verified measurements.
Related Planning Guides
- Compare interior quotations using the same scope
- Understand design-only and turnkey responsibilities
Final Thoughts
A good room layout makes daily activities easier and gives every furniture item a clear purpose.
Measure first, test arrangements to scale and check how the room works with doors, drawers and furniture in use. Finalise the plan before committing to purchases.
Explore Houspire’s design plans to visualise your room before execution.
Frequently Asked Questions
What is the first step in planning a room layout?
Define what the room needs to do, then measure it. Your activities and dimensions guide the furniture arrangement.
Can I plan a room layout without software?
Yes. Use graph paper, a consistent scale and movable paper furniture shapes.
Should the bed or wardrobe be positioned first?
Testing the bed position is a useful starting point, but check it alongside wardrobe access, doors and windows before deciding.
Can a 3D image confirm that furniture will fit?
Not reliably on its own. Verify furniture dimensions and clearances on a measured plan.
How many layout options should I compare?
Two or three distinct arrangements can help you assess trade-offs. Compare them against the same practical requirements.
When should I hire a designer?
Consider professional help when the room has competing uses, difficult dimensions, extensive custom furniture or requirements you cannot resolve confidently.