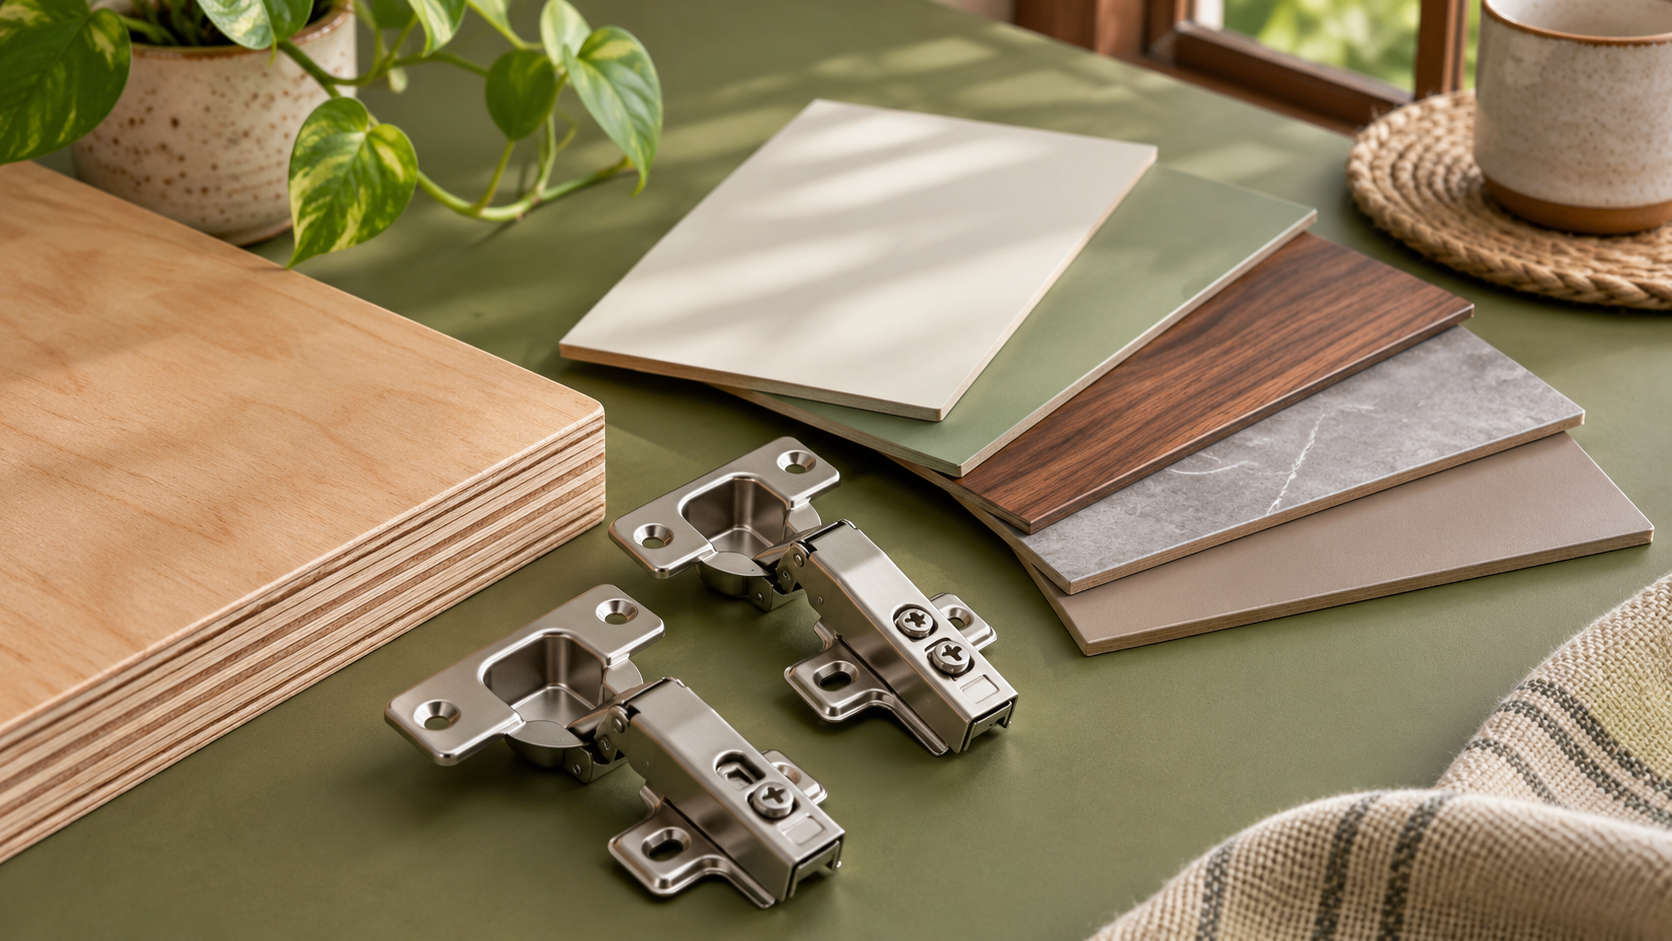
Check plywood, laminate and hardware substitutions before cutting or installation. Compare the delivered product with the approved brand, grade, thickness, finish code or model, then record any cost, lead-time or warranty change before accepting it.
1. Make the Quotation Specific Enough to Check
You cannot verify a delivery against descriptions such as “premium plywood,” “designer laminate” or “branded hardware.”
Before ordering, ask for a material schedule linked to the furniture drawings.
| Material | Details to record before purchase |
|---|---|
| Plywood | Brand, product range, grade, applicable standard, nominal thickness, sheet size and intended location |
| Laminate | Brand, collection, design code, finish code, thickness, sheet size and intended surface |
| Hinges | Brand, model or article number, opening angle, mounting arrangement, closing function and quantity |
| Drawer runners | Brand, model, length, extension type, closing function, load rating and quantity |
| Handles and accessories | Product code, size, finish, quantity and compatible fittings |
| Adhesives and edging | Product specification appropriate to the approved construction |
Identify where each material belongs. Cabinet sides, back panels and drawer bases may legitimately have different specifications.
“Same brand throughout” is not a substitute for this component-level detail.
2. Check Materials Before They Disappear into the Furniture
Agree on an inspection point before cutting and assembly begin.
At delivery, collect:
- The delivery challan and itemised invoice, where available.
- Photographs of product labels and packaging.
- Photographs of plywood markings and laminate identification.
- Hardware model numbers and quantities.
- Batch or lot references where provided.
- A record of any visible damage or discrepancy. If materials go to a workshop, arrange the same checks there. Request photographs that connect the labelled stock to your project, along with the supplier’s records.
An invoice supports traceability, but it does not by itself prove that the invoiced material was used in every cabinet. Inspection before assembly helps connect the paperwork to the work.
3. How to Check Plywood Against the Quote
Match the Exact Product
Compare the delivered sheet markings with the approved schedule.
Check the brand, range, grade, standard marking, nominal thickness and sheet dimensions. A different range from the same manufacturer is still a change that needs review.
Do not accept terms such as “waterproof” or “premium” as the complete product specification.
Verify Certification Details Where Applicable
Where plywood carries a BIS Standard Mark, record the IS number and CM/L licence number.
BIS provides a “Verify Licence Details” function through its BIS Care app. Use it to compare the licence information with the manufacturer and product details on the material. Bureau of Indian Standards
A valid licence lookup is one check. It does not independently establish the identity or condition of every sheet delivered to your site.
If the details do not match, ask the supplier or manufacturer for clarification before use.
Inspect Condition and Thickness
Ask the carpenter to check representative sheets for visible damage, separation, warping and edge defects.
Nominal thickness can be checked with a suitable measuring tool, with any discrepancy assessed against the manufacturer’s specification and applicable tolerances.
Colour, weight, tapping sounds or counting visible layers cannot independently prove the quoted grade. A casual home soak test is also not equivalent to standardised product testing.
If there is a serious dispute about material performance, seek manufacturer verification or appropriate testing rather than relying on visual guesses.
4. How to Check Laminate Substitutions
A laminate can look similar in a photograph while differing in finish, thickness or product type.
Compare the delivered material with the approved physical sample and its recorded codes.
| Check | What to compare |
|---|---|
| Brand and collection | The exact product family specified |
| Design code | The approved colour, pattern or woodgrain |
| Finish code | The specified texture, sheen or surface treatment |
| Thickness | The approved nominal thickness |
| Sheet size | Suitability for the planned panel sizes and joints |
| Grain direction | The orientation shown in the design |
| Batch reference | Record it where available, particularly for adjacent surfaces |
A colour name alone is insufficient. Two products described as “ivory” or “walnut” may look noticeably different.
Check samples beside each other under the same lighting. A phone image is useful for recording delivery, but it is unreliable for final colour approval.
Also identify the surfaces being covered. External shutters, internal cabinet faces and exposed end panels may have different approved finishes.
5. How to Check Hinges, Drawer Runners and Accessories
“Soft-close hardware” describes a function, not a complete specification.
Two products from the same brand can have different load ratings, opening mechanisms, dimensions and adjustment features. Hettich’s published runner range, for example, includes products with different extension types and load capacities. Discover them at Hettich!
Check the Model Before Installation
Match the packaging and product identification to the manufacturer’s catalogue or product information.
For drawer runners, confirm:
- Model or article number.
- Runner length.
- Full or partial extension.
- Soft-close, push-to-open or other specified function.
- Load rating and its stated conditions.
- Required locking devices, brackets or related components. For hinges, confirm the model, opening angle, overlay or inset arrangement, mounting plates and closing function.
Do not assume that a branded hinge or runner is the particular model you paid for.
Check Operation After Installation
Open each shutter and drawer. Look for rubbing, uneven movement, incomplete closure and loose fittings.
These checks help assess installation and operation. They do not establish a load rating or prove authenticity.
Do not overload a drawer to “test” the manufacturer’s claim. Ask the installer to confirm that the complete assembly follows the product’s requirements.
6. Use a Simple Substitution Register
Record each proposed change separately.
The following examples are illustrative, not actual product recommendations.
| Item | Approved specification | Delivered or proposed alternative | Required action |
|---|---|---|---|
| Cabinet plywood | Named range, grade and 18 mm nominal thickness | Same brand, different range | Compare technical specifications before approval |
| External laminate | Design code A, matte finish, 1 mm | Similar colour, glossy finish, 0.8 mm | Treat as a specification change; obtain the approved product or review the alternative |
| Drawer runners | Named model, 450 mm, full extension, soft-close | Same brand, partial extension | Request the specified model or approve the functional change explicitly |
| Hinges | Named soft-close model | Different model with separate damper | Check compatibility, function, quantity and price |
| Handles | Approved size and finish | Different fixing centres | Resolve before drilling shutters |
A useful status column is: matched, awaiting clarification, approved alternative or replacement required.
7. What to Do When Something Does Not Match
Ask the contractor to hold the affected material before cutting or installation. Other agreed work may be able to continue.
Request:
- The original and proposed product specifications.
- The reason for the substitution.
- Any effect on appearance, function, compatibility or warranty.
- The revised price, including any credit or extra charge.
- The effect on delivery and completion. You can send: “The delivered item does not match the approved material schedule. Please hold its use and share the exact product details, reason for the change, price difference and warranty implications. We can confirm the next step after reviewing these.”
Once agreed, update the material schedule and quotation. Keep written approval with the product details.
“Equivalent” should be supported by the attributes that matter for that particular use. A higher price or a familiar brand does not establish suitability by itself.
8. Complete a Final Material Handover Check
Before closing the project, reconcile approved substitutions with the installed work.
Keep a folder containing:
- Final drawings and material schedule.
- Approved samples or labelled sample references.
- Delivery photographs and available invoices.
- Written substitution approvals.
- Hardware model details.
- Warranty documents and service contacts.
- A list of unresolved discrepancies. Where useful, retain a labelled laminate offcut for future matching.
This record also helps when you need a replacement handle, drawer component or matching panel later.
Related guides
Frequently asked questions
Is a different product from the same brand an acceptable substitution?
Possibly, but it still needs comparison and approval. Product ranges can differ in specifications, intended use, performance and warranty.
Can I verify plywood quality by looking at its edges?
Visible edges can reveal some defects, but they cannot prove the complete grade or performance. Combine physical checks with product identification, documentation and relevant verification.
Is an ISI mark enough to verify plywood?
Check the accompanying licence details through BIS, alongside the product markings and purchase records. A printed mark alone should not be your only check.
What if the approved laminate is unavailable?
Request an alternative physical sample with its design code, finish, thickness and price. Approve the replacement before it is applied.
How do I check materials when furniture is made off-site?
Arrange inspection before assembly and request project-linked photographs, labels and procurement records. Once panels are finished and enclosed, some specifications become harder to verify.
Should every substitution result in a discount?
No. The alternative may cost less, the same or more. Ask for a transparent price adjustment and assess whether it meets the approved requirements before accepting it.
Plan your next steps with Houspire
Keep material decisions next to the relevant drawing and quote line so you can identify changes before work begins. Explore Houspire’s design plans to see what the design stage can help you decide.