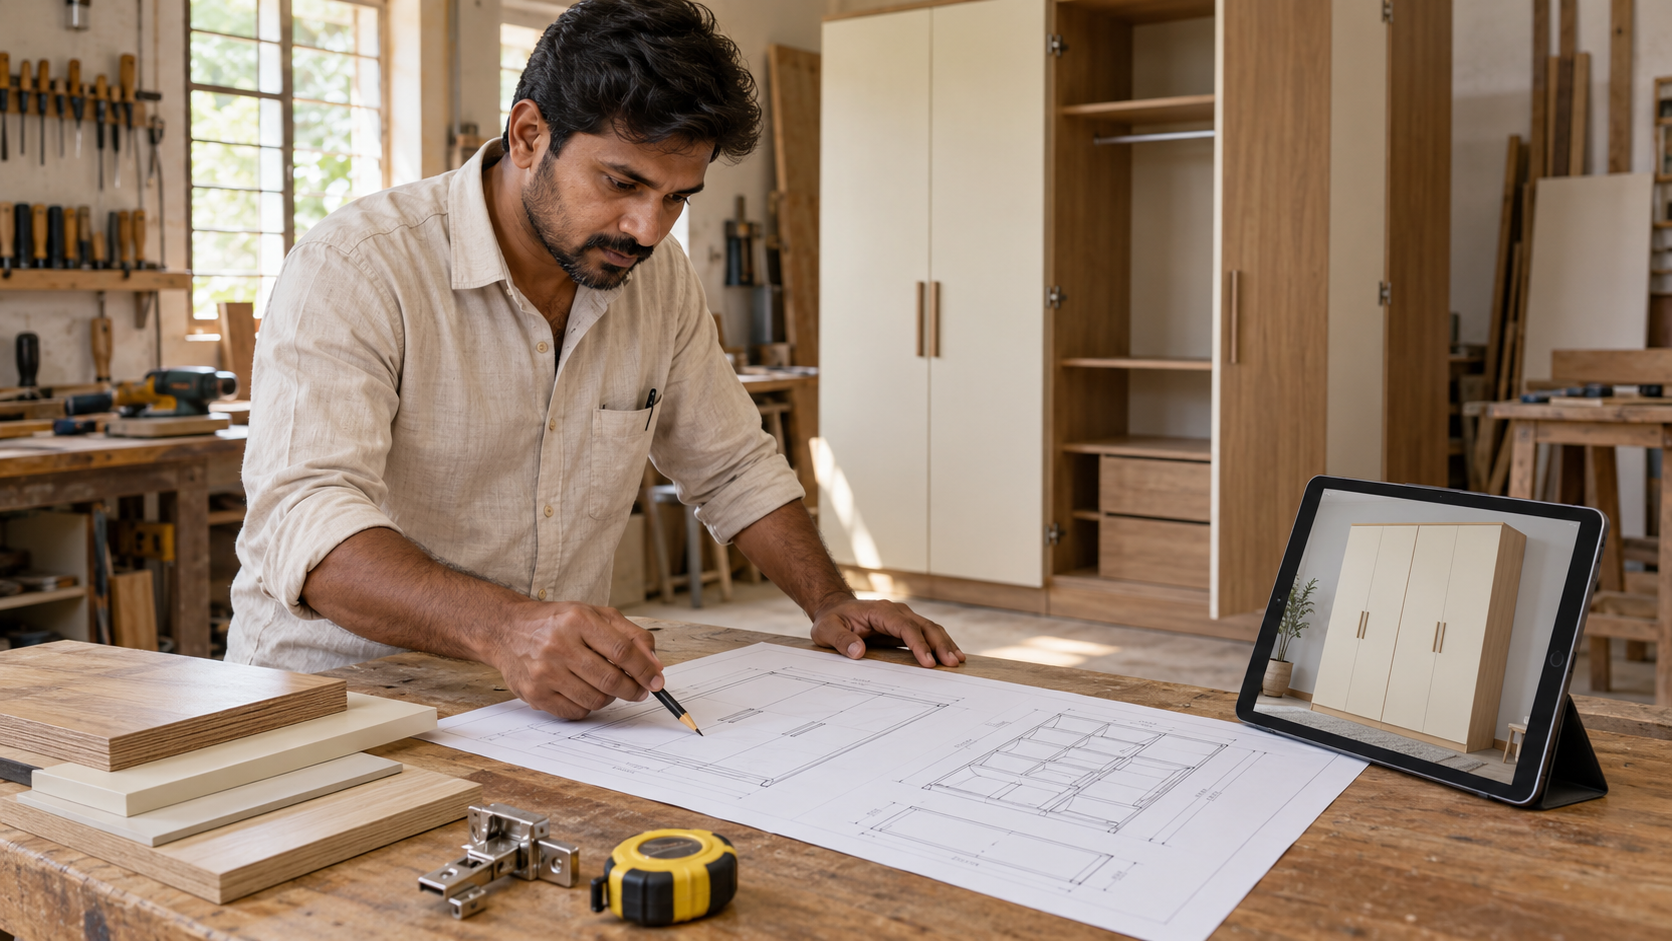
Can a Carpenter Build Furniture From a 3D Render?
A carpenter can use a 3D interior render to understand the intended appearance, but the image alone usually does not contain enough information to build custom furniture accurately. Before fabrication, confirm site measurements, dimensions, internal arrangements, materials, hardware and relevant construction details.
For a simple unit, your carpenter may develop a measured drawing from the reference and ask you to approve it. A more complex design may require detailed drawings from the designer or fabricator.
The key is to resolve the missing information before cutting materials.
A realistic image can show a wardrobe's colour and proportions beautifully while leaving its depth, drawer arrangement and shutter mechanism undefined.
What does a 3D interior render show?
A render helps you understand the design from a particular viewpoint.
It can communicate:
- Furniture placement and visible proportions.
- The relationship between different elements.
- Colour and material direction.
- The appearance of shutters, handles and decorative details.
- The intended lighting effect.
- How the room looks as a composition.
This makes it useful for discussing preferences and approving the visual direction.
However, a surface shown as wood does not identify its exact material or finish. A closed cabinet does not reveal its internal storage. A light effect does not identify the fixture or installation method.
Those decisions need separate confirmation.
What information does the carpenter need?
The required detail depends on the design, but the following documents and specifications help translate appearance into defined work.
| Information | What it explains |
|---|---|
| Verified site measurements | The actual space available, including openings, projections and obstructions |
| Furniture layout | Where units sit within the room and how they relate to other furniture |
| Dimensioned elevations | Heights, widths and the arrangement of visible elements |
| Internal layout | Shelves, hanging sections, drawers and other storage |
| Sections and details | Depths, junctions and construction information that other views do not explain |
| Material schedule | Specified boards, finishes, product codes and application locations |
| Hardware schedule | Hinges, drawer systems, handles and other fittings |
| Service information | Relevant electrical, plumbing, ventilation and appliance requirements |
Not every project needs a large drawing set. It needs enough clear information for the people executing it to understand and price the same design.
Example: What is missing from a wardrobe render?
Imagine a render showing a wardrobe with four shutters, a loft and long handles.
Before building it, the carpenter still needs to know:
- The overall width, height and depth.
- Whether the loft is a separate unit.
- How the shutters open.
- Where shelves, drawers and hanging rails belong.
- The specified materials for the cabinet, shutters and back panels.
- The finish brand and product code.
- The hardware models and quantities.
- How the unit meets the walls, ceiling and floor.
- Whether any switches or service points need to remain accessible.
Two carpenters could interpret the same image differently if these details are left open.
The solution is to review a dimensioned proposal and written specification before approving fabrication.
Which drawing explains which part of the design?
Furniture layout The layout shows furniture positions when viewed from above. Use it to review the relationship between the wardrobe, bed, bedside tables, doors and walking routes. It should also communicate the relevant furniture dimensions.
Elevation An elevation shows a wall or furniture unit straight on. For a wardrobe, it can identify shutter divisions, loft height, handle positions and alignment with nearby elements.
Internal layout This shows the storage behind the shutters. Approve it against your actual belongings. Check hanging clothes, folded garments, luggage and any items with specific size requirements.
Section or construction detail A section or detail explains an area that remains unclear in the other views. It may show cabinet depth, a countertop junction, a recessed handle or the arrangement of a particular component. Ask the designer or fabricator to provide these where needed.
Can measurements be taken directly from the image?
Do not use visual proportions in a perspective render as fabrication measurements. Objects appear larger or smaller depending on their position and the camera view.
Even if the design was created from a measured model, the image does not automatically communicate those measurements.
Ask for dimensions from the underlying design documents, then have the execution team verify the relevant site conditions.
Check that the drawings and render belong to the same approved design revision.
Why the finished room may look different from the render
Some differences come from materials and lighting. Others result from unresolved details or changes during execution.
| Possible cause | What to clarify before work begins |
|---|---|
| Site dimensions differ from the original inputs | Verify measurements and revise affected drawings |
| A material is unavailable | Approve the replacement sample and specification |
| The carpenter interprets a detail differently | Record the intended detail in a drawing |
| Internal storage was never specified | Approve a complete internal layout |
| Lighting differs from the visualisation | Coordinate the selected fixtures and their positions |
| Products change during procurement | Record the approved model and any dimensional implications |
| Drawings and renders show different versions | Issue one coordinated set of approved documents |
Physical samples help you assess finishes more directly. Review them together and, where practical, under the room's actual lighting.
Ask for substitutions to be approved before they are purchased or installed.
How to hand over a design to your carpenter
1. Share the complete design information Provide the render alongside the available layouts, elevations, specifications and product selections. Identify anything that is still undecided. An unresolved finish or appliance choice should remain visible as an open item.
2. Arrange a site measurement check Have the execution team verify dimensions that affect fabrication. Record beams, uneven junctions, skirting, openings and service points that may influence the final fit.
3. Review feasibility together Ask the carpenter to flag unclear details, material limitations or installation concerns. Where a change affects the design, involve the designer if that support is available within your appointment. Agree on the solution before proceeding.
4. Obtain a quotation for the defined scope The quotation should reflect the approved dimensions, materials, hardware and work. Clarify exclusions such as delivery, installation, electrical work or finishing repairs. A price based only on an image may leave important assumptions unresolved.
5. Approve the fabrication information Review the final drawings, internal arrangements and selected samples. Record approval against a dated version. If anything changes afterwards, document the revision and its effect on price and timing.
Who should prepare the execution drawings?
This depends on the services you have purchased and the responsibilities accepted by each team.
A designer may include working drawings in a detailed package. A carpenter or manufacturer may prepare fabrication drawings based on the design. An execution contractor may coordinate drawings across several trades.
Before booking, ask:
- Who prepares the drawings?
- Who verifies site dimensions?
- Who checks the drawings against the intended design?
- Who resolves technical questions?
- Is support during execution included or separately charged?
Avoid assuming that purchasing a render automatically includes every drawing or ongoing consultation.
What if you have already purchased only a 3D view?
Start by asking the provider exactly what the package includes.
Share the view with your chosen execution team and request a list of additional information they need. You may be able to commission the relevant drawings separately or have the fabricator prepare them for review.
For straightforward furniture, a clearly specified and dimensioned proposal may be sufficient. More complex work needs a level of documentation appropriate to its construction and service requirements.
Do not begin fabrication while essential dimensions or specifications remain uncertain.
A checklist before your carpenter starts
Confirm that:
- Site measurements have been checked.
- The layout and furniture dimensions are approved.
- Shutter movement and internal storage are defined.
- Materials, finishes and hardware are specified.
- Relevant appliance and service requirements are coordinated.
- The quotation matches the agreed design.
- Drawings and renders show the same revision.
- Changes and substitutions require approval.
- Someone is responsible for answering execution questions.
Frequently asked questions
Is a 3D render the same as a working drawing? No. A render primarily communicates appearance. A working drawing communicates dimensions and details needed for the specified work. Both can support the same project, but they serve different purposes.
Can a carpenter work from a Pinterest image? A reference image can explain the look you want. The carpenter still needs to adapt it to your space and define dimensions, materials, storage and construction before fabrication.
Do I need drawings for a simple TV unit? At minimum, confirm its dimensions, arrangement, materials, hardware and relevant access requirements. The necessary drawing detail depends on the unit's complexity.
Will the finished colours match the render exactly? An exact match should not be assumed. Screens, lighting, material texture and product variation affect appearance. Approve physical samples where practical.
Can my carpenter change the design to make it easier to build? They can propose changes. Ask them to explain the effect on appearance, function, materials, price and timing, and record your approval before work proceeds.
Does a material list make a render ready for execution? It helps define selections, but it does not replace missing dimensions, internal layouts or construction details.
Use the render to agree on the design, then define the build
At Houspire, we help homeowners visualise their spaces and clarify design decisions before execution.
When choosing a package, check which views and planning documents are included. Before your carpenter starts, confirm site measurements and arrange any additional drawings or specifications needed for the work.
A clear handover helps everyone understand what has been approved and what they are expected to deliver.
[Explore Houspire's design plans →]