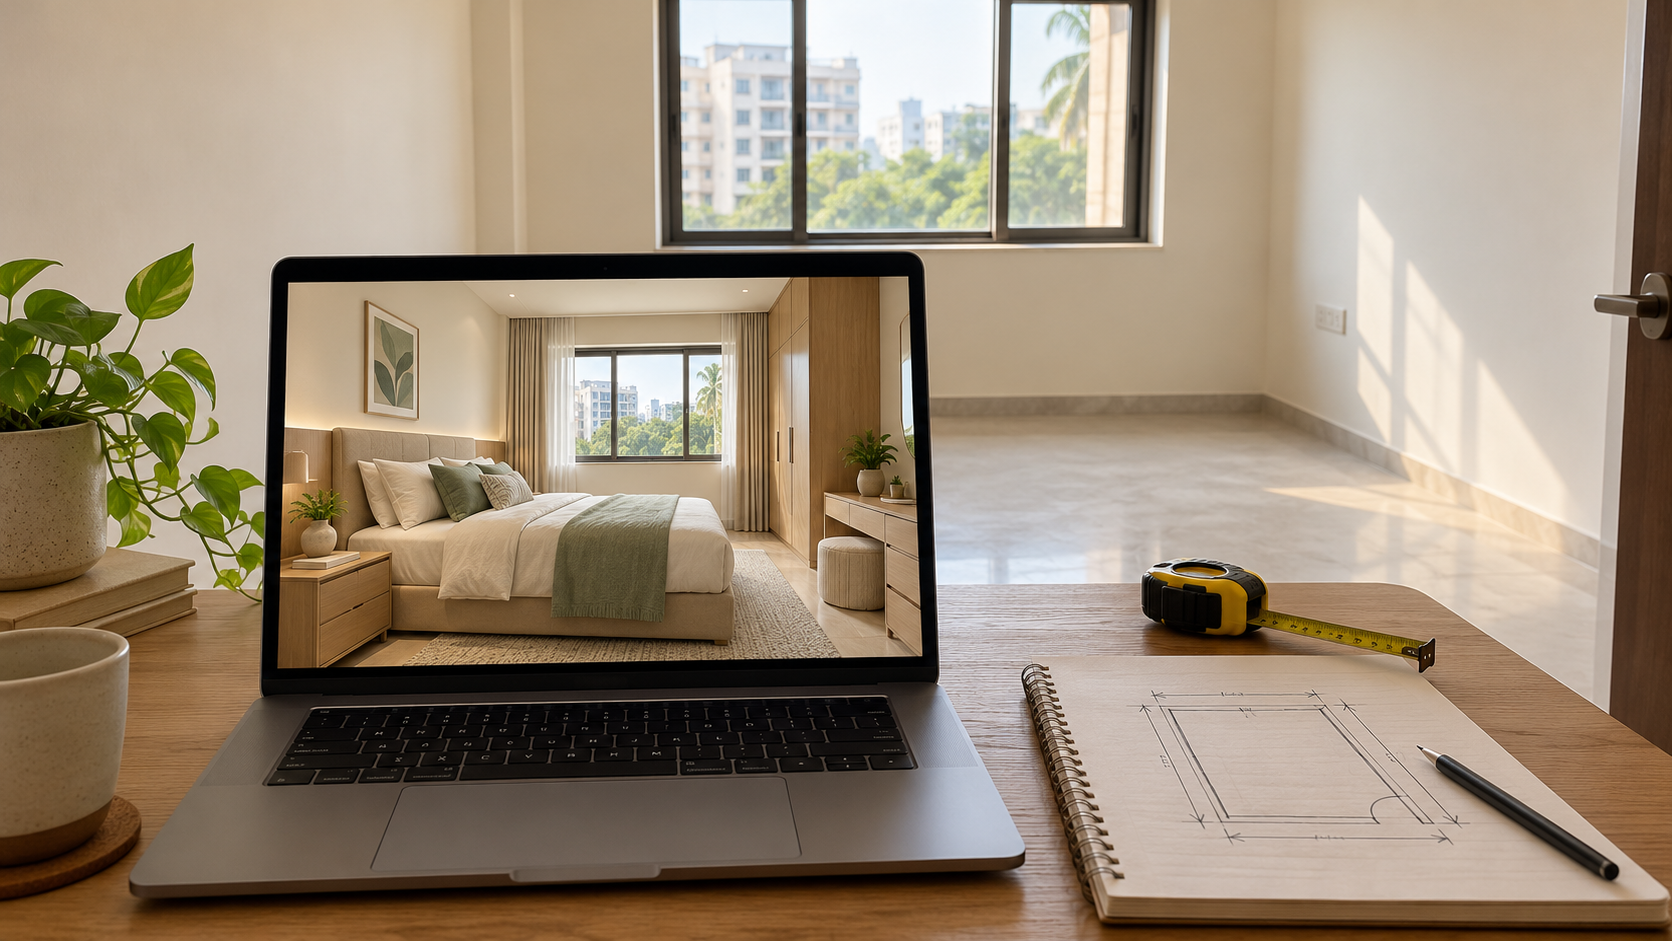
3D Room Visualisation: See Your Space Before Renovation
A saved bedroom image may show the colours you like, but it cannot tell you whether the same furniture will fit your home.
Your room has its own dimensions, windows, doors and everyday requirements.
3D room visualisation helps you review a proposed interior in the context of your own space before buying furniture or starting renovation.
With accurate inputs, you can assess furniture placement, finishes and the overall appearance before making larger decisions.
What Is a 3D Room Visualisation?
A 3D room visualisation is a digital image showing a proposed interior.
It helps communicate:
- Furniture placement
- Finishes and colours
- Lighting
- The overall appearance of the room
The visual gives you a proposal to review and discuss before execution.
What Does Houspire’s Standard Room View Show?
Houspire’s standard room offering provides one photorealistic view covering a maximum of three walls.
It represents one camera angle, rather than a complete walkthrough or every side of the room.
Check whether additional views are needed to explain areas outside the selected angle.
What Should You Share Before Your Room Design Starts?
Provide clear photographs, measurements, everyday requirements and a small set of style references.
These inputs help the designer understand both the existing room and how you want to use it.
1. Clear Room Photographs
Take photographs showing each wall and the corners between them.
Include:
- Doors
- Windows
- Beams
- Existing furniture
- Visible service points
Use wider photographs to show how the room connects. Close-up images can help explain details, but should not be the only reference.
2. Measurements or a Floor Plan
Provide the room’s:
- Length
- Width
- Height
- Door and window locations
- Relevant opening dimensions
If you want to retain furniture, measure that too.
A designer needs to know whether an existing bed, sofa or wardrobe must fit into the proposal.
3. Your Everyday Requirements
Explain who uses the room and what they do there.
A bedroom used only for sleeping needs a different arrangement from one that also accommodates work, dressing and additional storage.
Include requirements such as:
- A workspace
- Storage for clothing or luggage
- A dressing area
- Furniture you want to retain
- Access to windows, doors and an attached bathroom
4. Style References
Share a small set of reference images and explain what you like about each one.
You might identify:
- The colour palette
- A wardrobe finish
- The lighting
- A furniture shape
- A particular material or texture
Specific comments help communicate your preferences more clearly than a collection of unexplained images.
What Should a Before-and-After Room Design Example Show?
A useful comparison should connect the actual room input to the proposed design.
| Image or document | What the reader should understand |
|---|---|
| Original room photograph | Existing structure and conditions |
| Proposed 3D view | Suggested furniture, finishes and styling |
| Brief explanation | What was retained and what was changed |
| Measured layout, where available | How the proposal relates to the room’s dimensions |
Distinguish a Proposed Design from Completed Work
Label a proposed render as a design visualisation.
Use “completed renovation” only when showing a photograph of executed work.
Comparable camera angles make it easier to understand the relationship between the original room and the proposal.
Describe only the changes visible in the actual project.
What Should You Review in Your 3D Room Design?
Look beyond the colour scheme.
Check whether the proposal fits your routine and accounts for the important features of your room.
Furniture Placement
Review the relationship between the main furniture pieces.
Consider whether the arrangement supports the way you intend to use the space.
Identify any required furniture that appears missing.
Storage Access
Check whether wardrobes, drawers and other storage appear accessible.
Raise questions about shutter openings, drawer use and nearby furniture before approving fabrication.
Doors and Windows
Review whether important openings remain usable.
Check access to windows, room doors, balconies and attached bathrooms where relevant.
Retained Furniture
Confirm that furniture you asked to retain is included in the proposal.
Check its position against the dimensions supplied in your brief.
Workspaces and Other Requirements
If you requested a desk, dressing area or another specific function, check that it is represented.
Resolve missing requirements and unclear details before moving to execution.
Will the Finished Room Look Exactly Like the Render?
Treat the render as design intent.
The finished result can be affected by:
- Physical finishes and textures
- Daylight
- Product availability
- Workmanship
Review material samples and confirm dimensions on site before ordering.
A realistic image helps communicate appearance, but it does not establish every technical detail needed for construction.
What Needs Separate Technical Coordination?
Details such as wiring routes and cabinet construction need separate technical coordination.
Ask your execution team which dimensioned drawings, specifications and site checks are needed before fabrication or installation.
Checklist Before Moving from Visualisation to Execution
Before ordering furniture or starting work, confirm that you have:
- Shared clear photographs of the room.
- Provided room measurements or a floor plan.
- Measured furniture you want to retain.
- Explained your everyday requirements.
- Reviewed furniture placement and storage access.
- Checked access to important doors and windows.
- Raised questions about missing or unclear elements.
- Reviewed physical material samples.
- Confirmed dimensions on site.
- Identified the technical documentation required for execution.
Use the visualisation as a shared reference when discussing the proposal with your contractor.
Visualise Your Room with Houspire
Room visualisation helps turn scattered ideas into a proposal you can review.
Start with accurate inputs, assess the layout carefully and confirm technical details before execution.
Visualise your room with Houspire before making larger renovation decisions.
Frequently Asked Questions
Can I start with photographs instead of a floor plan?
Photographs can help establish the room, but measurements are still needed to understand its proportions. Share the room dimensions and the locations of important openings.
Can I keep my existing furniture?
Yes. Include the furniture in your brief with clear photographs and dimensions so it can be considered in the proposal.
Does one image show the entire room?
No. One image shows the room from a selected camera angle. Houspire’s standard room view covers a maximum of three walls. Ask whether additional views are needed for areas outside that angle.
Is a 3D render the same as a completed renovation photograph?
No. A render shows a proposed design. A completed renovation photograph shows work that has been physically executed.
Will the finished room look exactly like the render?
Treat the render as design intent. Physical finishes, daylight, product availability and workmanship can affect the result. Review samples and confirm dimensions before ordering.
Does a realistic render include construction details?
A realistic image does not establish hidden details such as wiring routes or cabinet construction. Confirm the drawings and specifications your execution team needs separately.